
There are multiple options for what to display on your site after your Countdown Timer has hit 0 (or the target date).
- Display a Message
- Display the Counter
- Hide counter
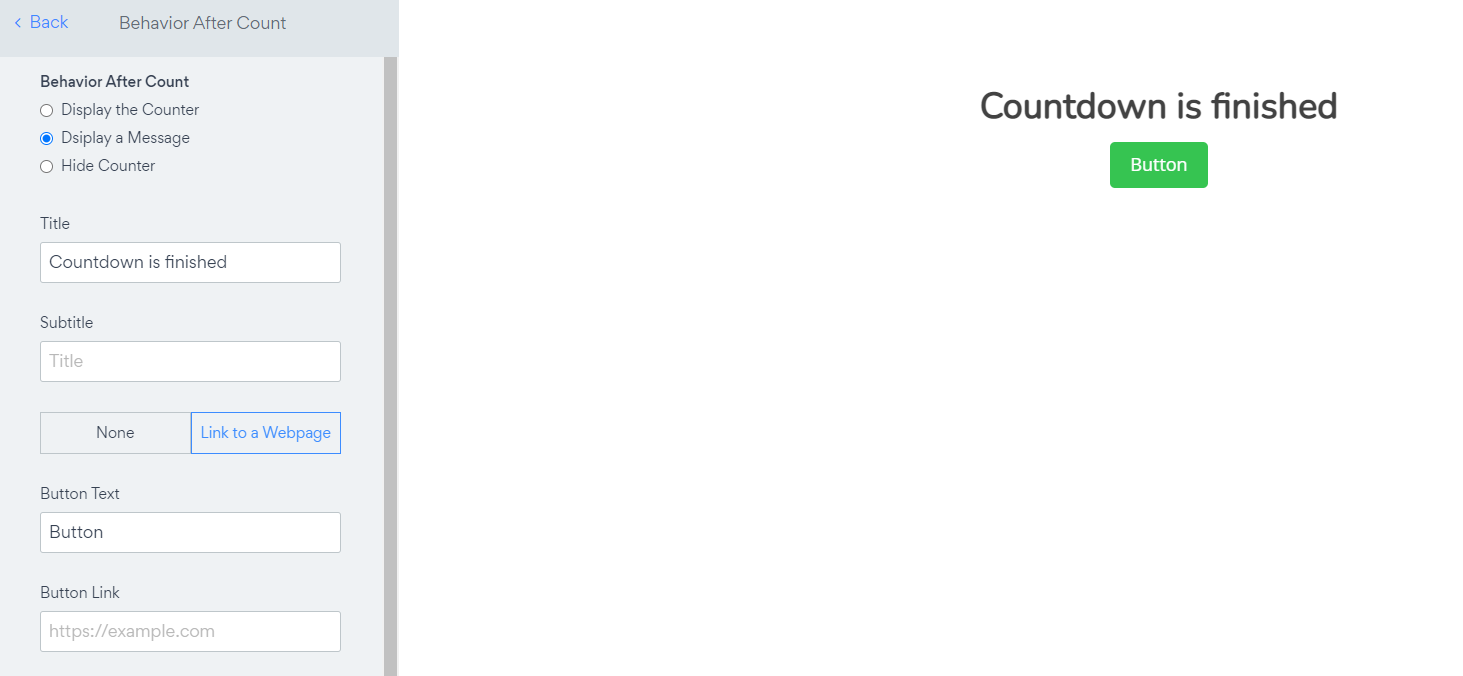
1. Display a Message
When choosing the Display a Message option, you can display any custom text and/or button after your Timer has completed.
Example use cases:
- You had a special promotion running and would like your site visitors to know that the special deal has now ended.
- You had a countdown to when a special item becomes available and you now want to link visitors to the page where they can buy the item, or take the payment straight from that page.
2. Display the Counter
This option will keep the Timer on your site. The Timer will stop counting and the user will see the 0's or the Target Number.

3. Hide Counter
The third option is to simply stop the Timer from appearing. Once the Timer stop counting your user will no longer see the timer on your site.
Comments
0 comments
Please sign in to leave a comment.