
Connect Popup to Any POWR App Using Zapier
What is Zapier?
Zapier lets you connect POWR Popup to 2,000+ other web services. Automated connections called Zaps, set up in minutes with no coding, can automate your day-to-day tasks and build workflows between apps that otherwise wouldn't be possible.
Each Zap has one app as the **Trigger**, where your information comes from and which causes one or more **Actions** in other apps, where your data gets sent automatically.
With the Popup Pro plan, you can connect to other web services using Zapier. Some cool things you can do by creating "Zaps" with Popup:
- Send new contact information to a Google Sheet
- Create new customers in your Shopify store for each new submission
- Add new subscribers to Mailchimp / AWeber / Constant Contact / Klaviyo / HubSpot / Salesforce (and more) lists
Here's a list of our available Zapier integrations with Popup, with more added regularly:
AWeber, Constant Contact, Freshsales, Google Sheets, HubSpot, Mailchimp, Salesforce, Shopify, Slack, Klaviyo, Mailerlite, Zapier SMS, GoToMeeting, Clickfunnels, ClickUp, Dubsado, Thinkific.
Steps To Connect Popup to Zapier
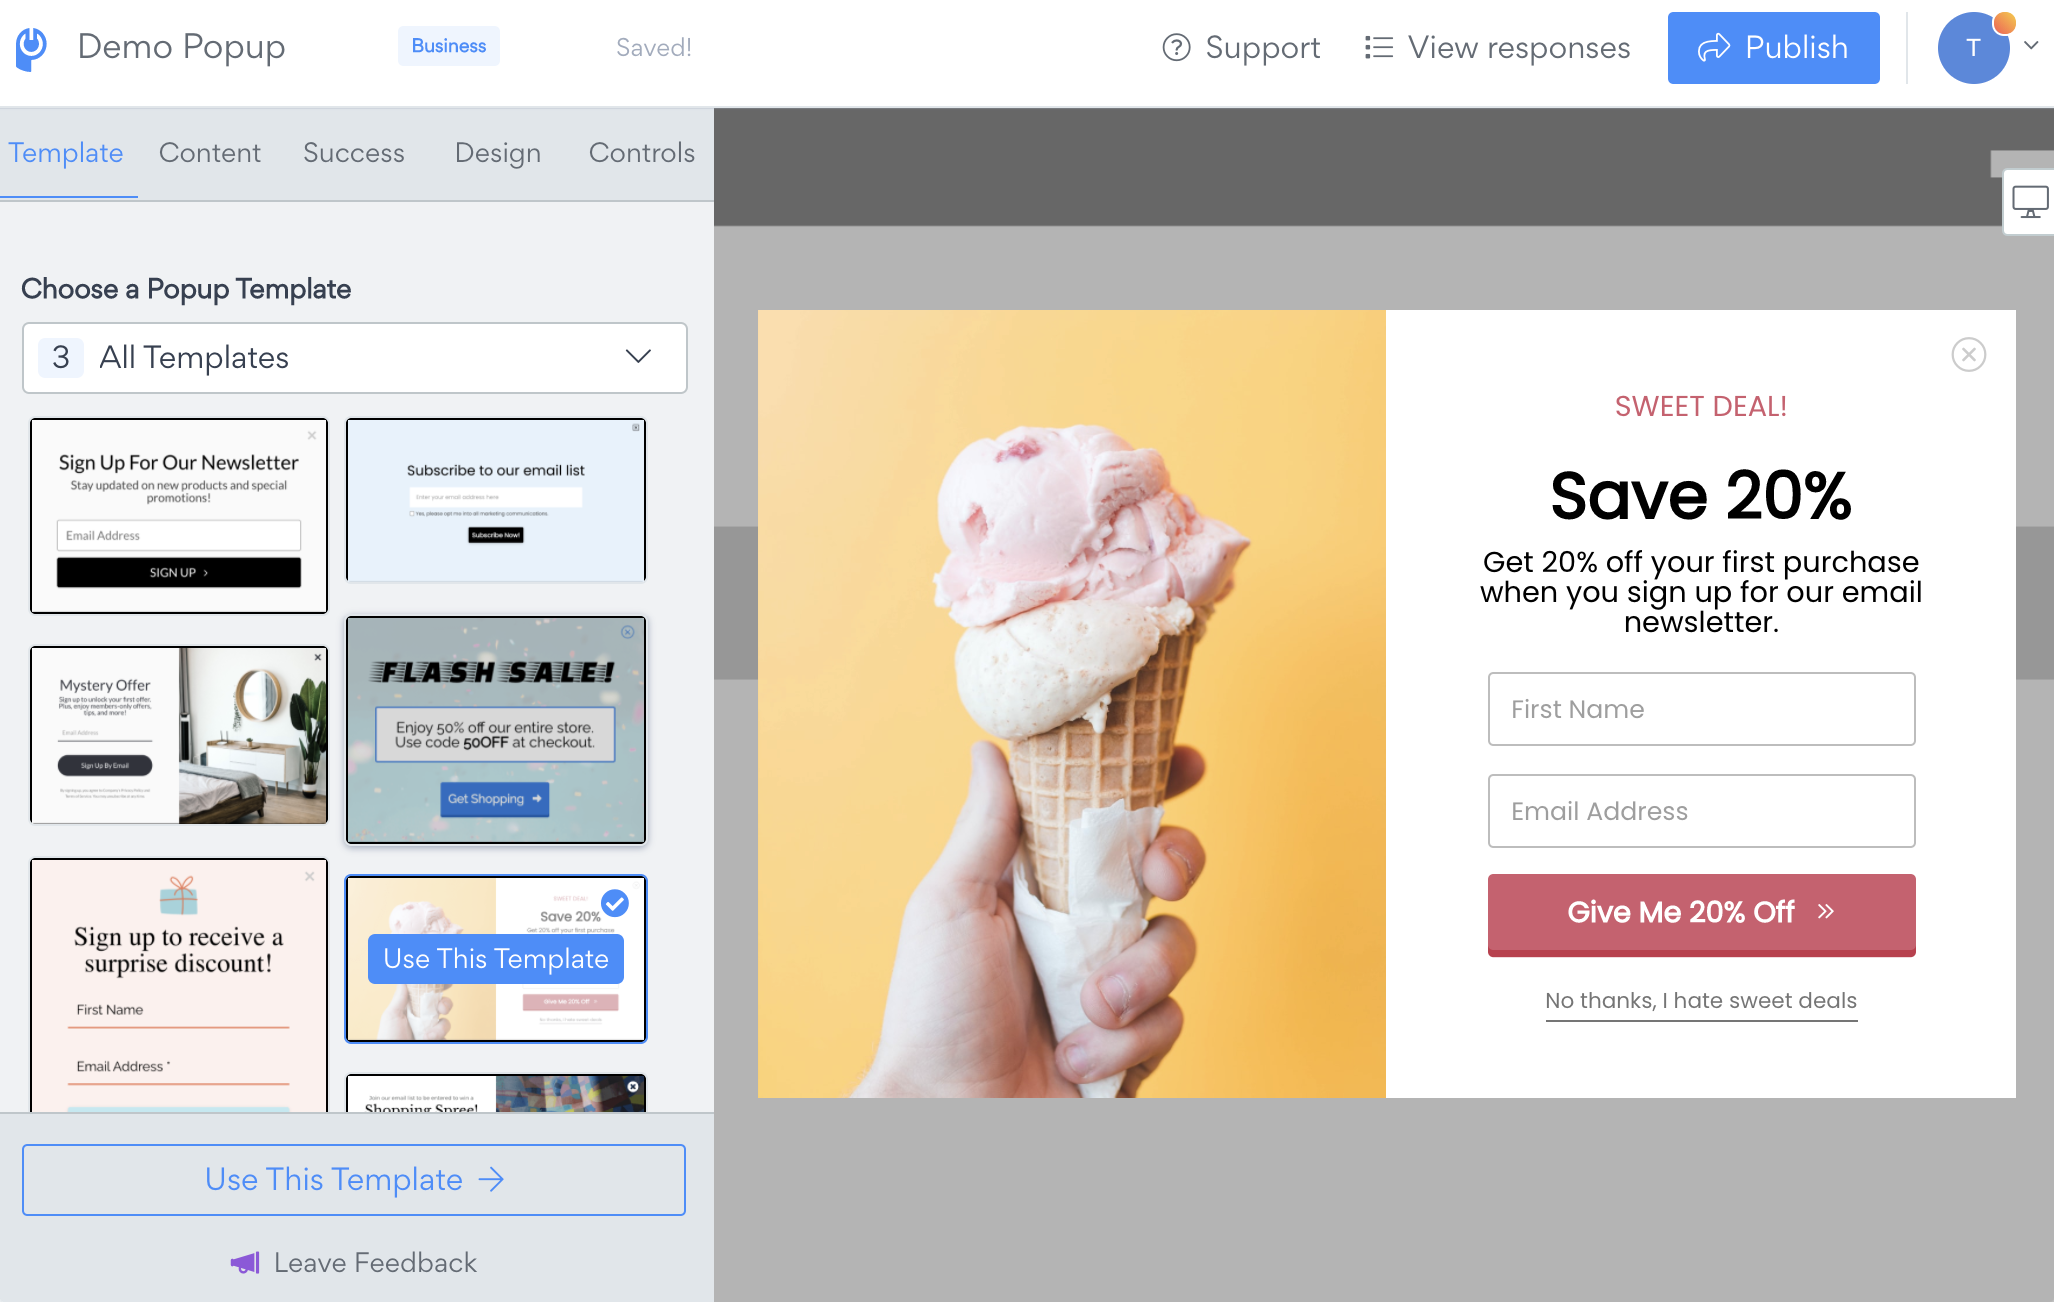
1. Create your POWR Popup
2. Connect Zapier to POWR
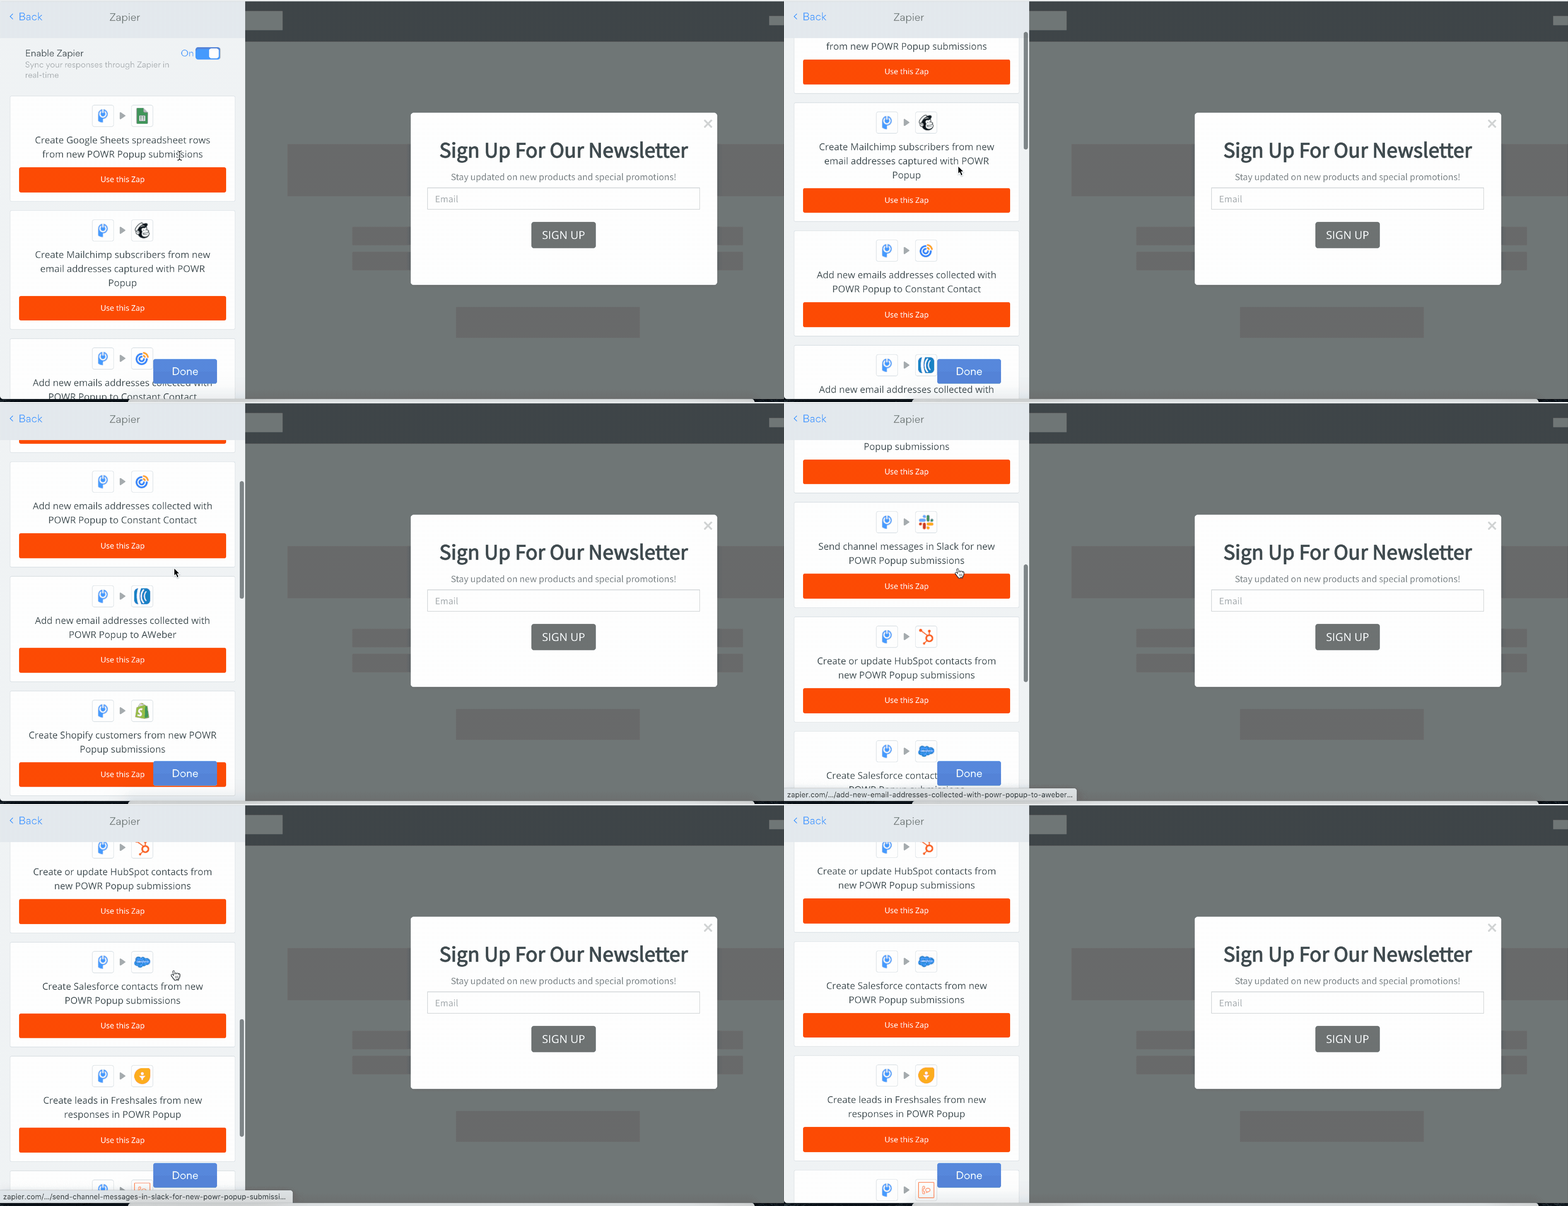
Under Controls, select Zapier and use one of our existing Zaps
3. Trigger Step
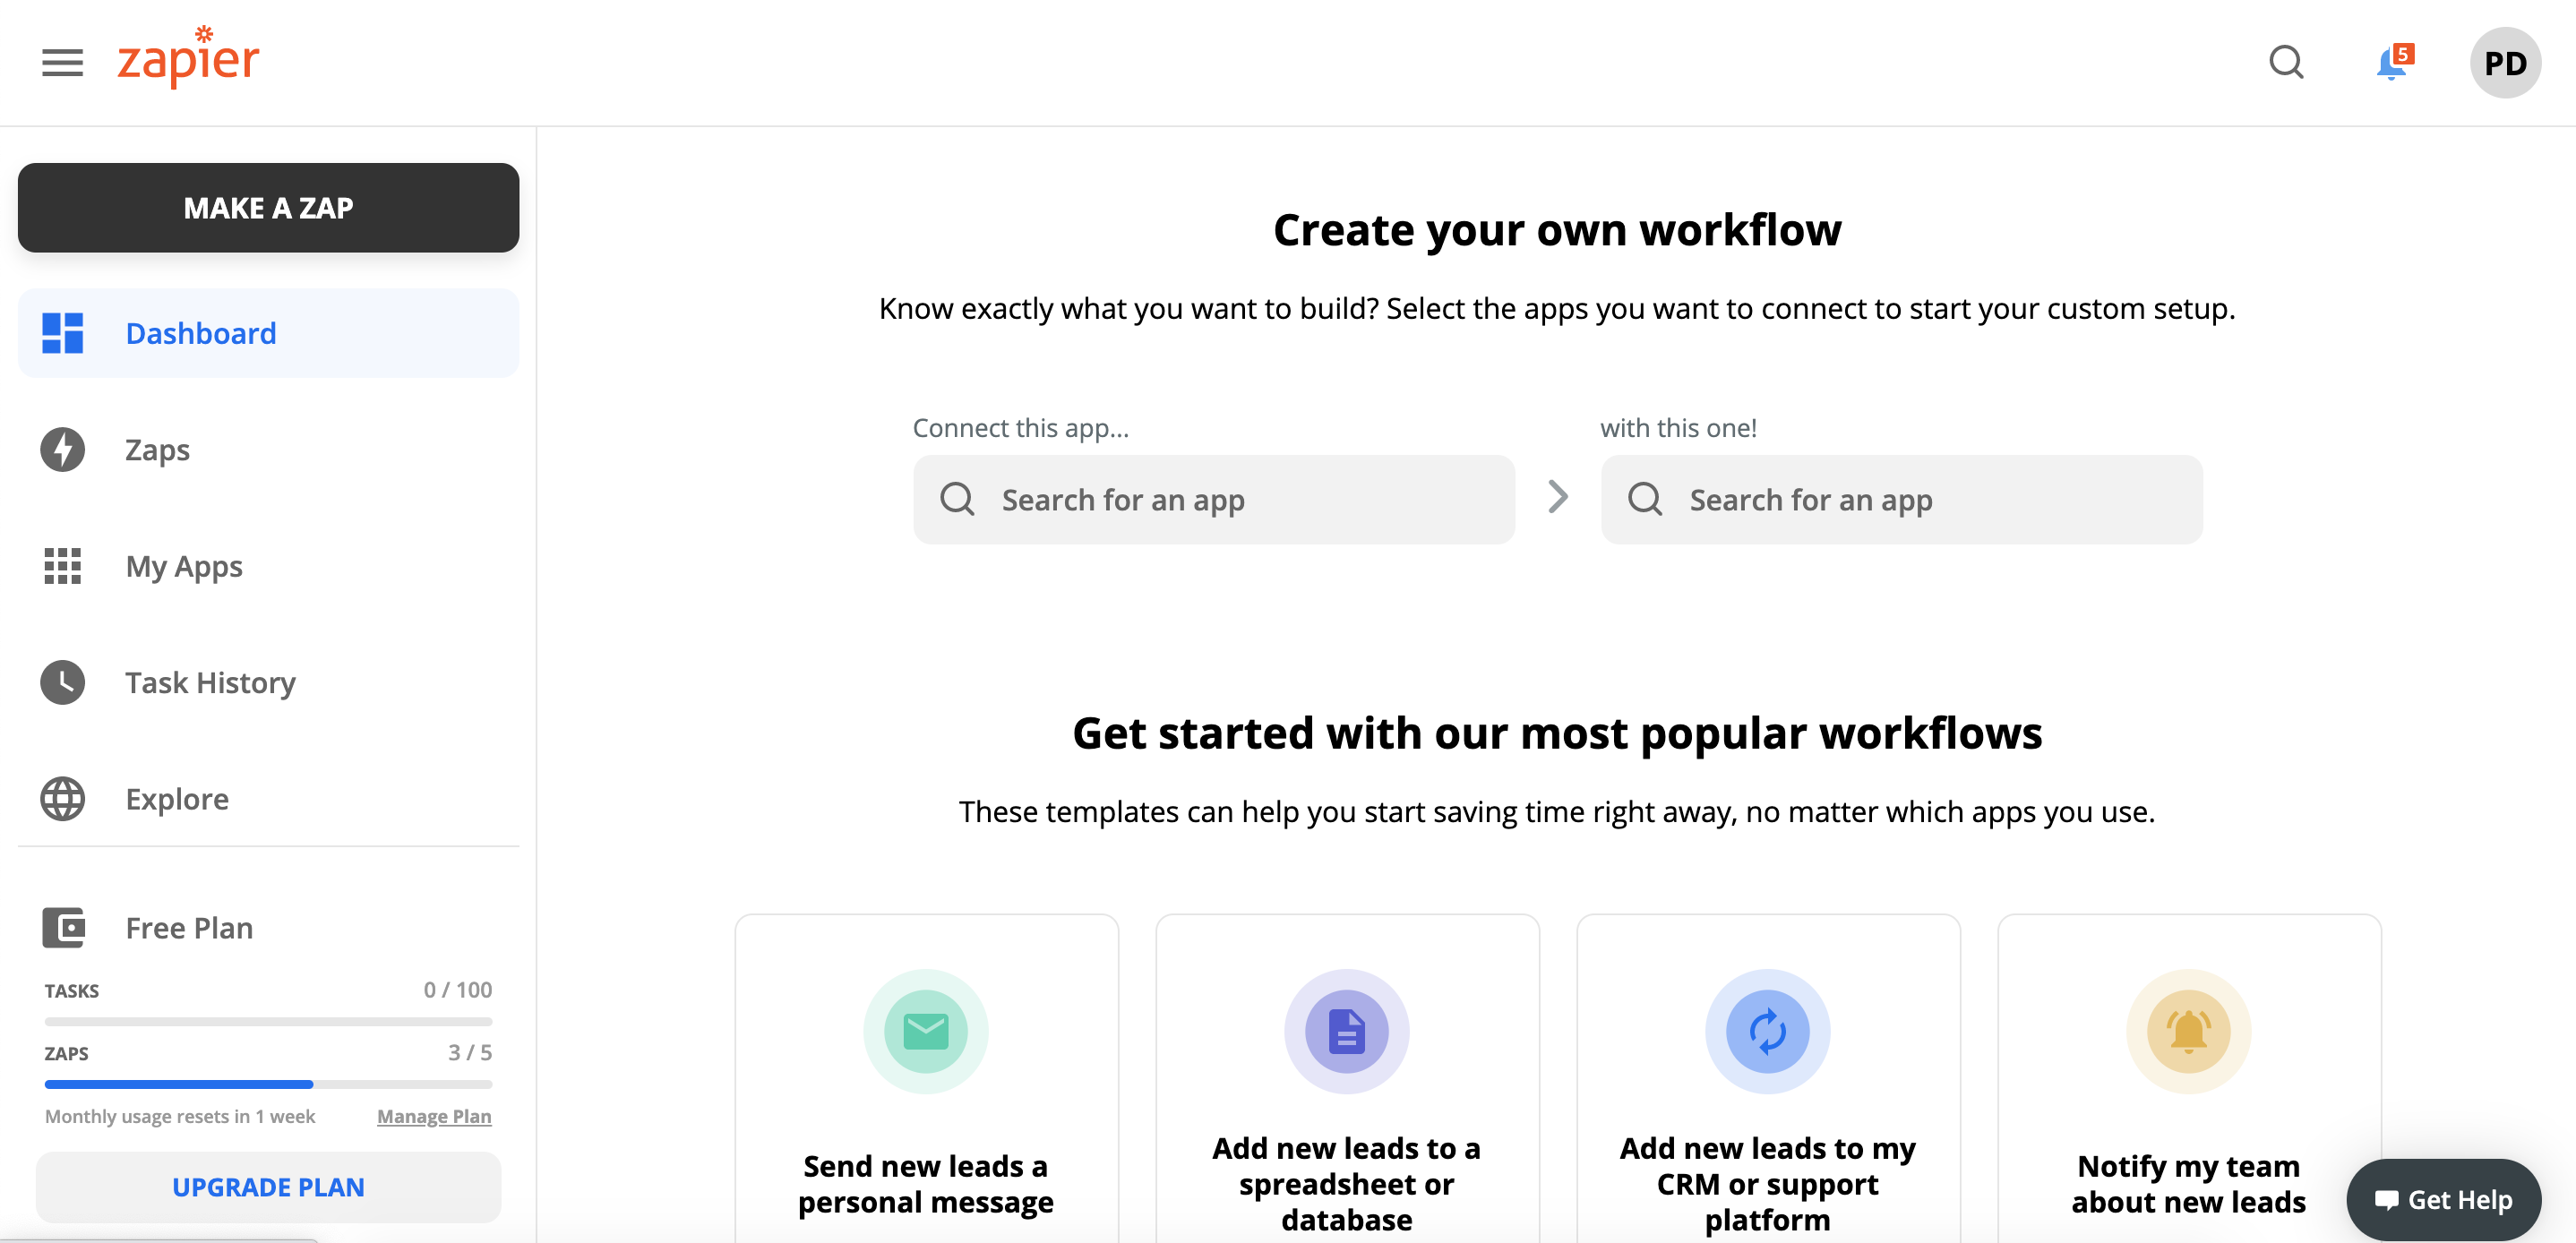
- Sign up for a free Zapier account, from there, you can jump right in.
- Click the "MAKE A ZAP" button. Creating a Zap requires no coding knowledge, and you'll be walked step-by-step through the setup.
4. New Response
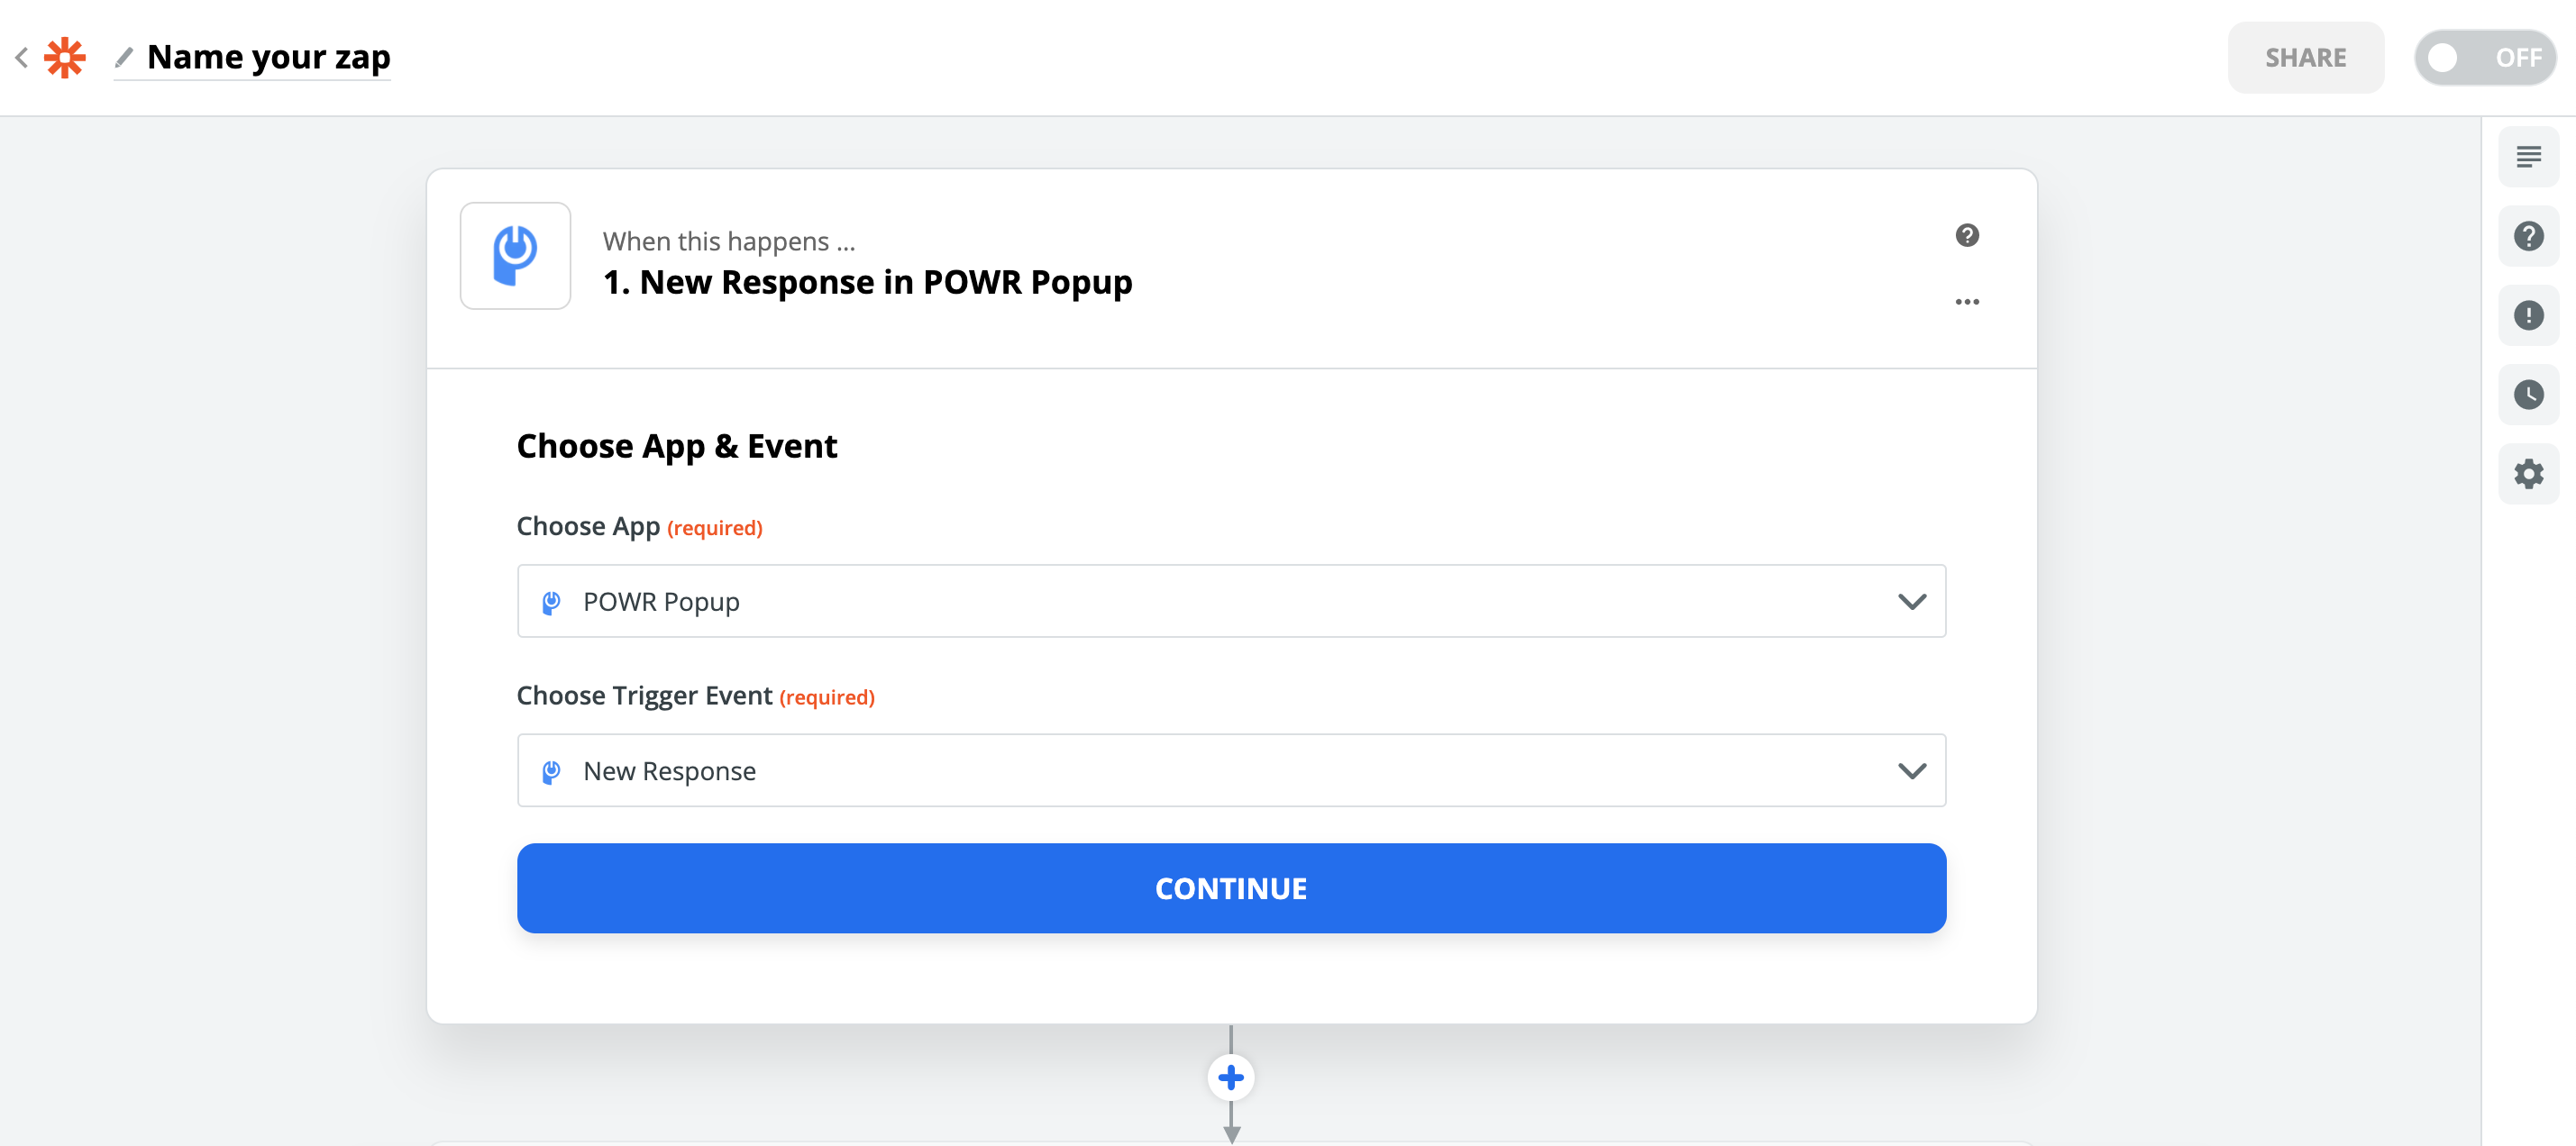
Search for POWR Popup as your Trigger App and select New Response as your POWR Popup
Trigger.
⚠️ If you are connecting to Zapier for the first time, it may prompt you to provide a Zapier Access Token. You can follow these instructions to learn more about obtaining an access token.
5. Connect your POWR account
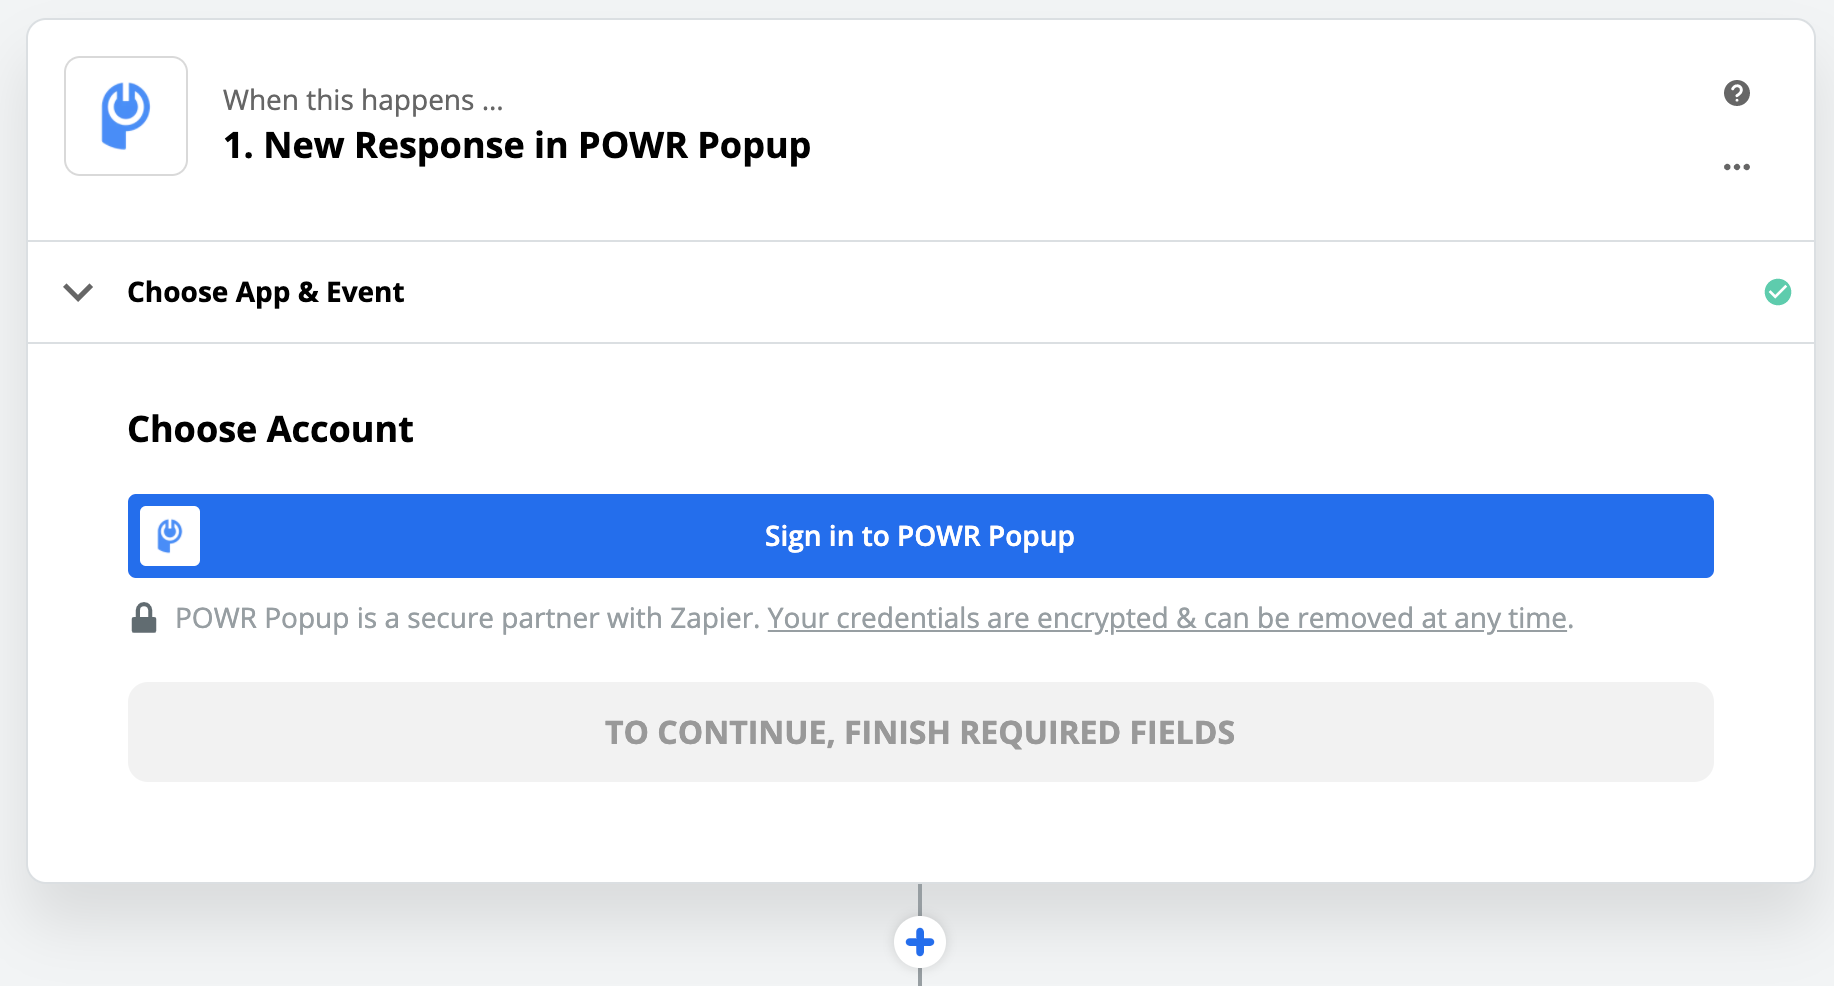
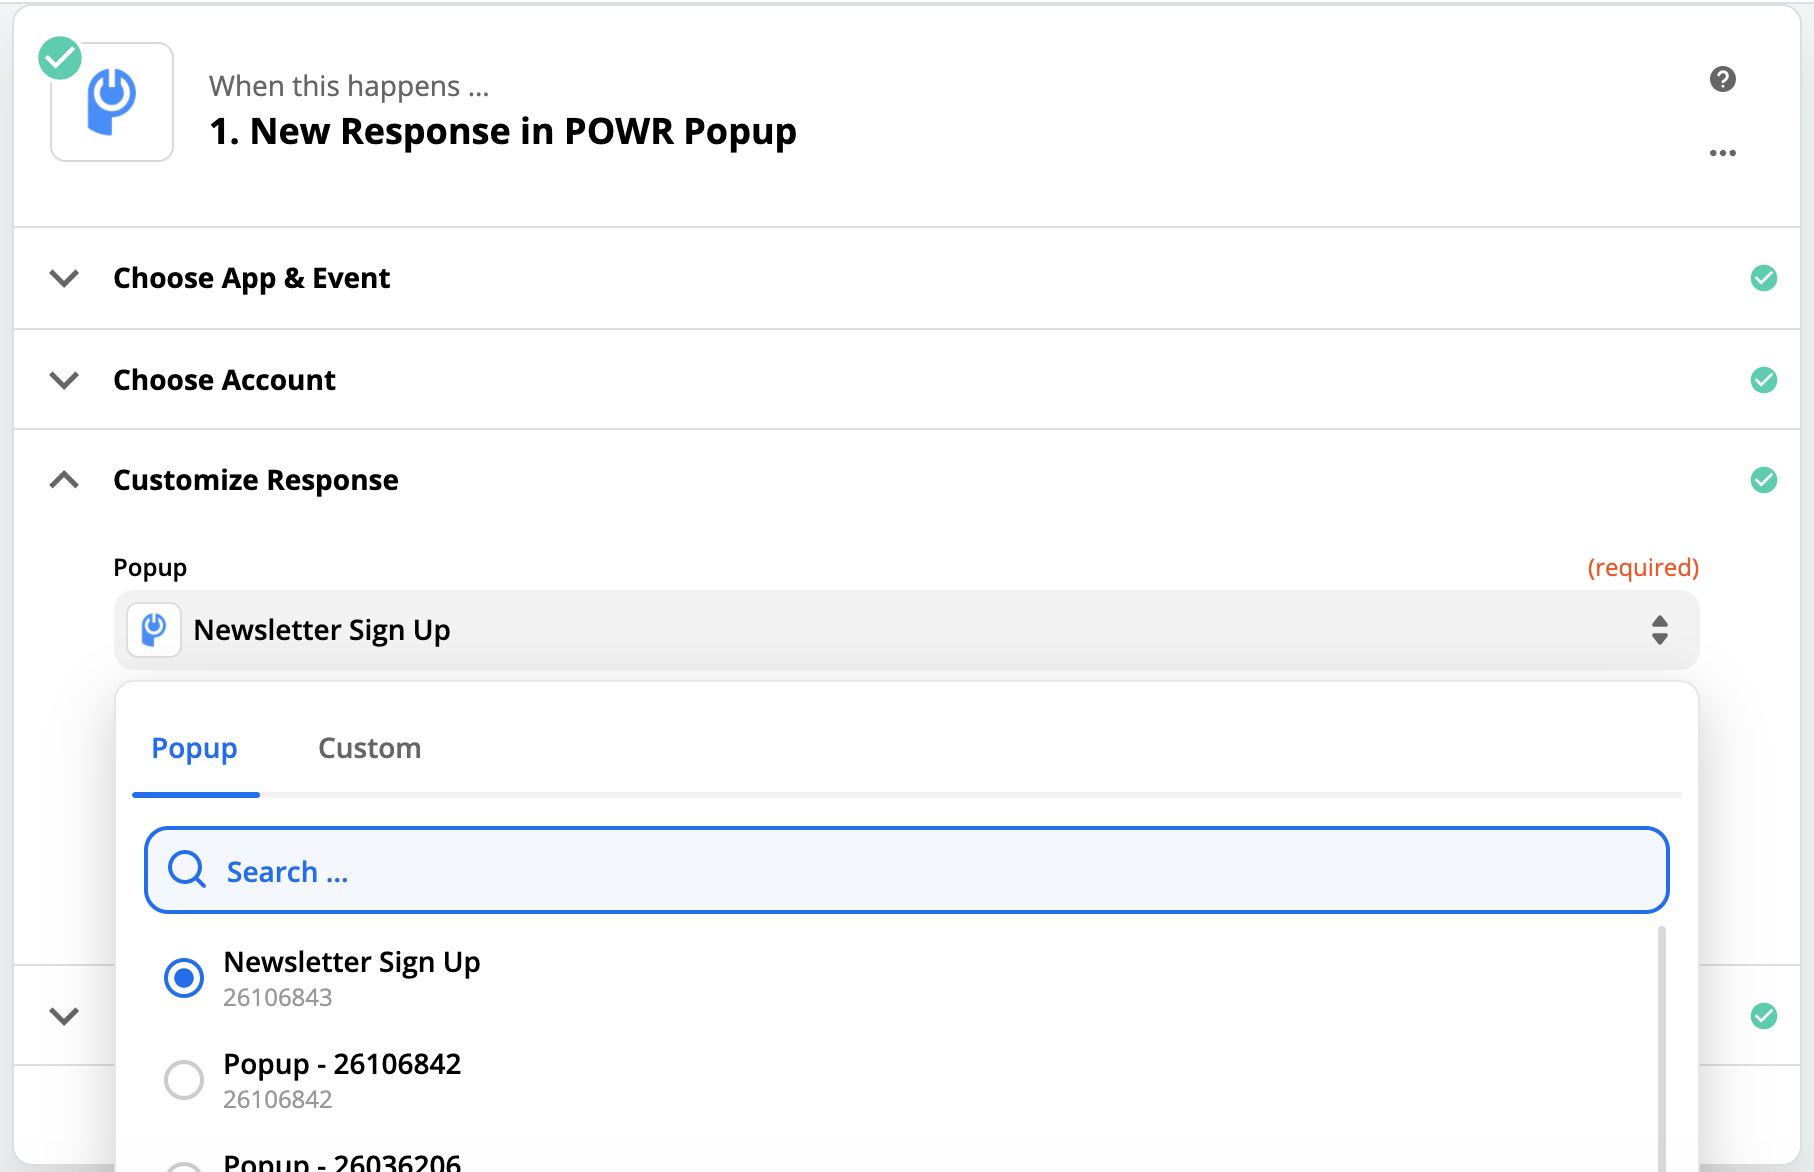
6. Connect the proper Popup
Find the Popup you'd like to connect to Zapier from the dropdown list. We recommend giving it a friendly name so you can find it easily.
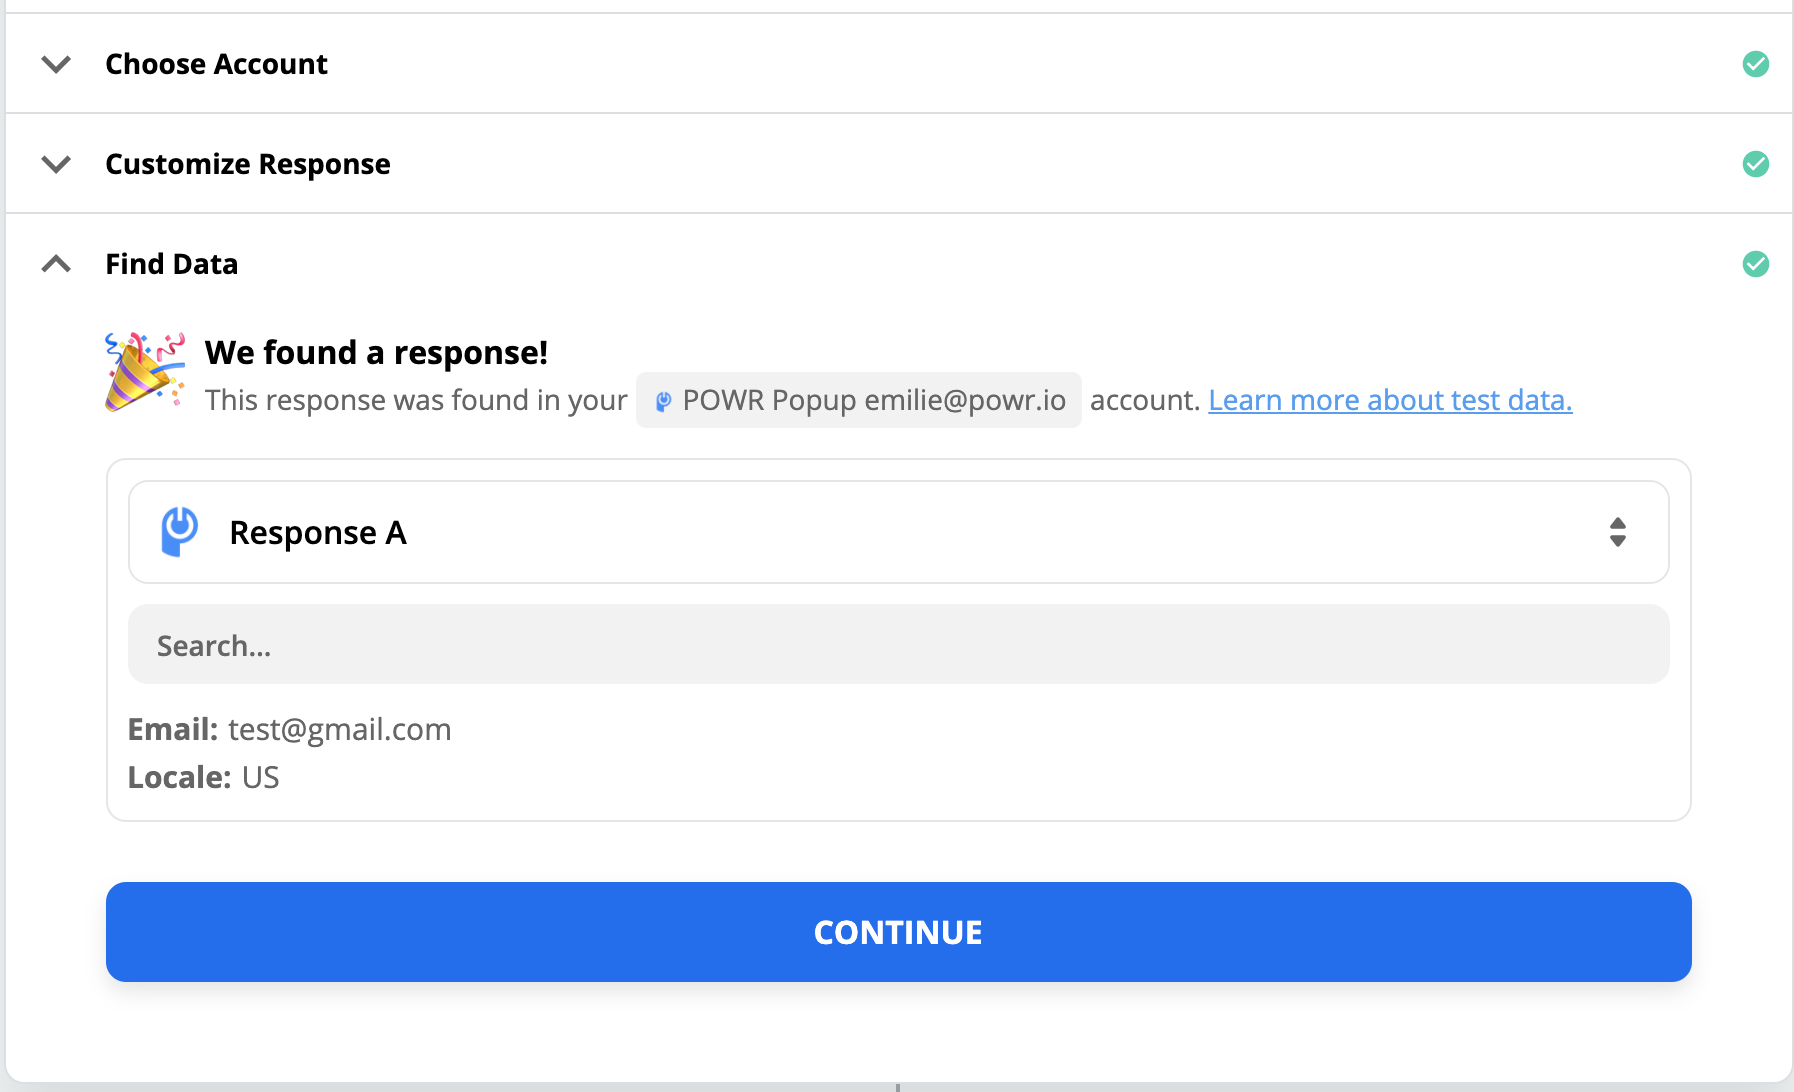
7. Test your trigger
Submit a response through the popup you connected. Make sure the test is successful:
8. Action Step
In Choose an Action App, search for the service you want to send your popup response.
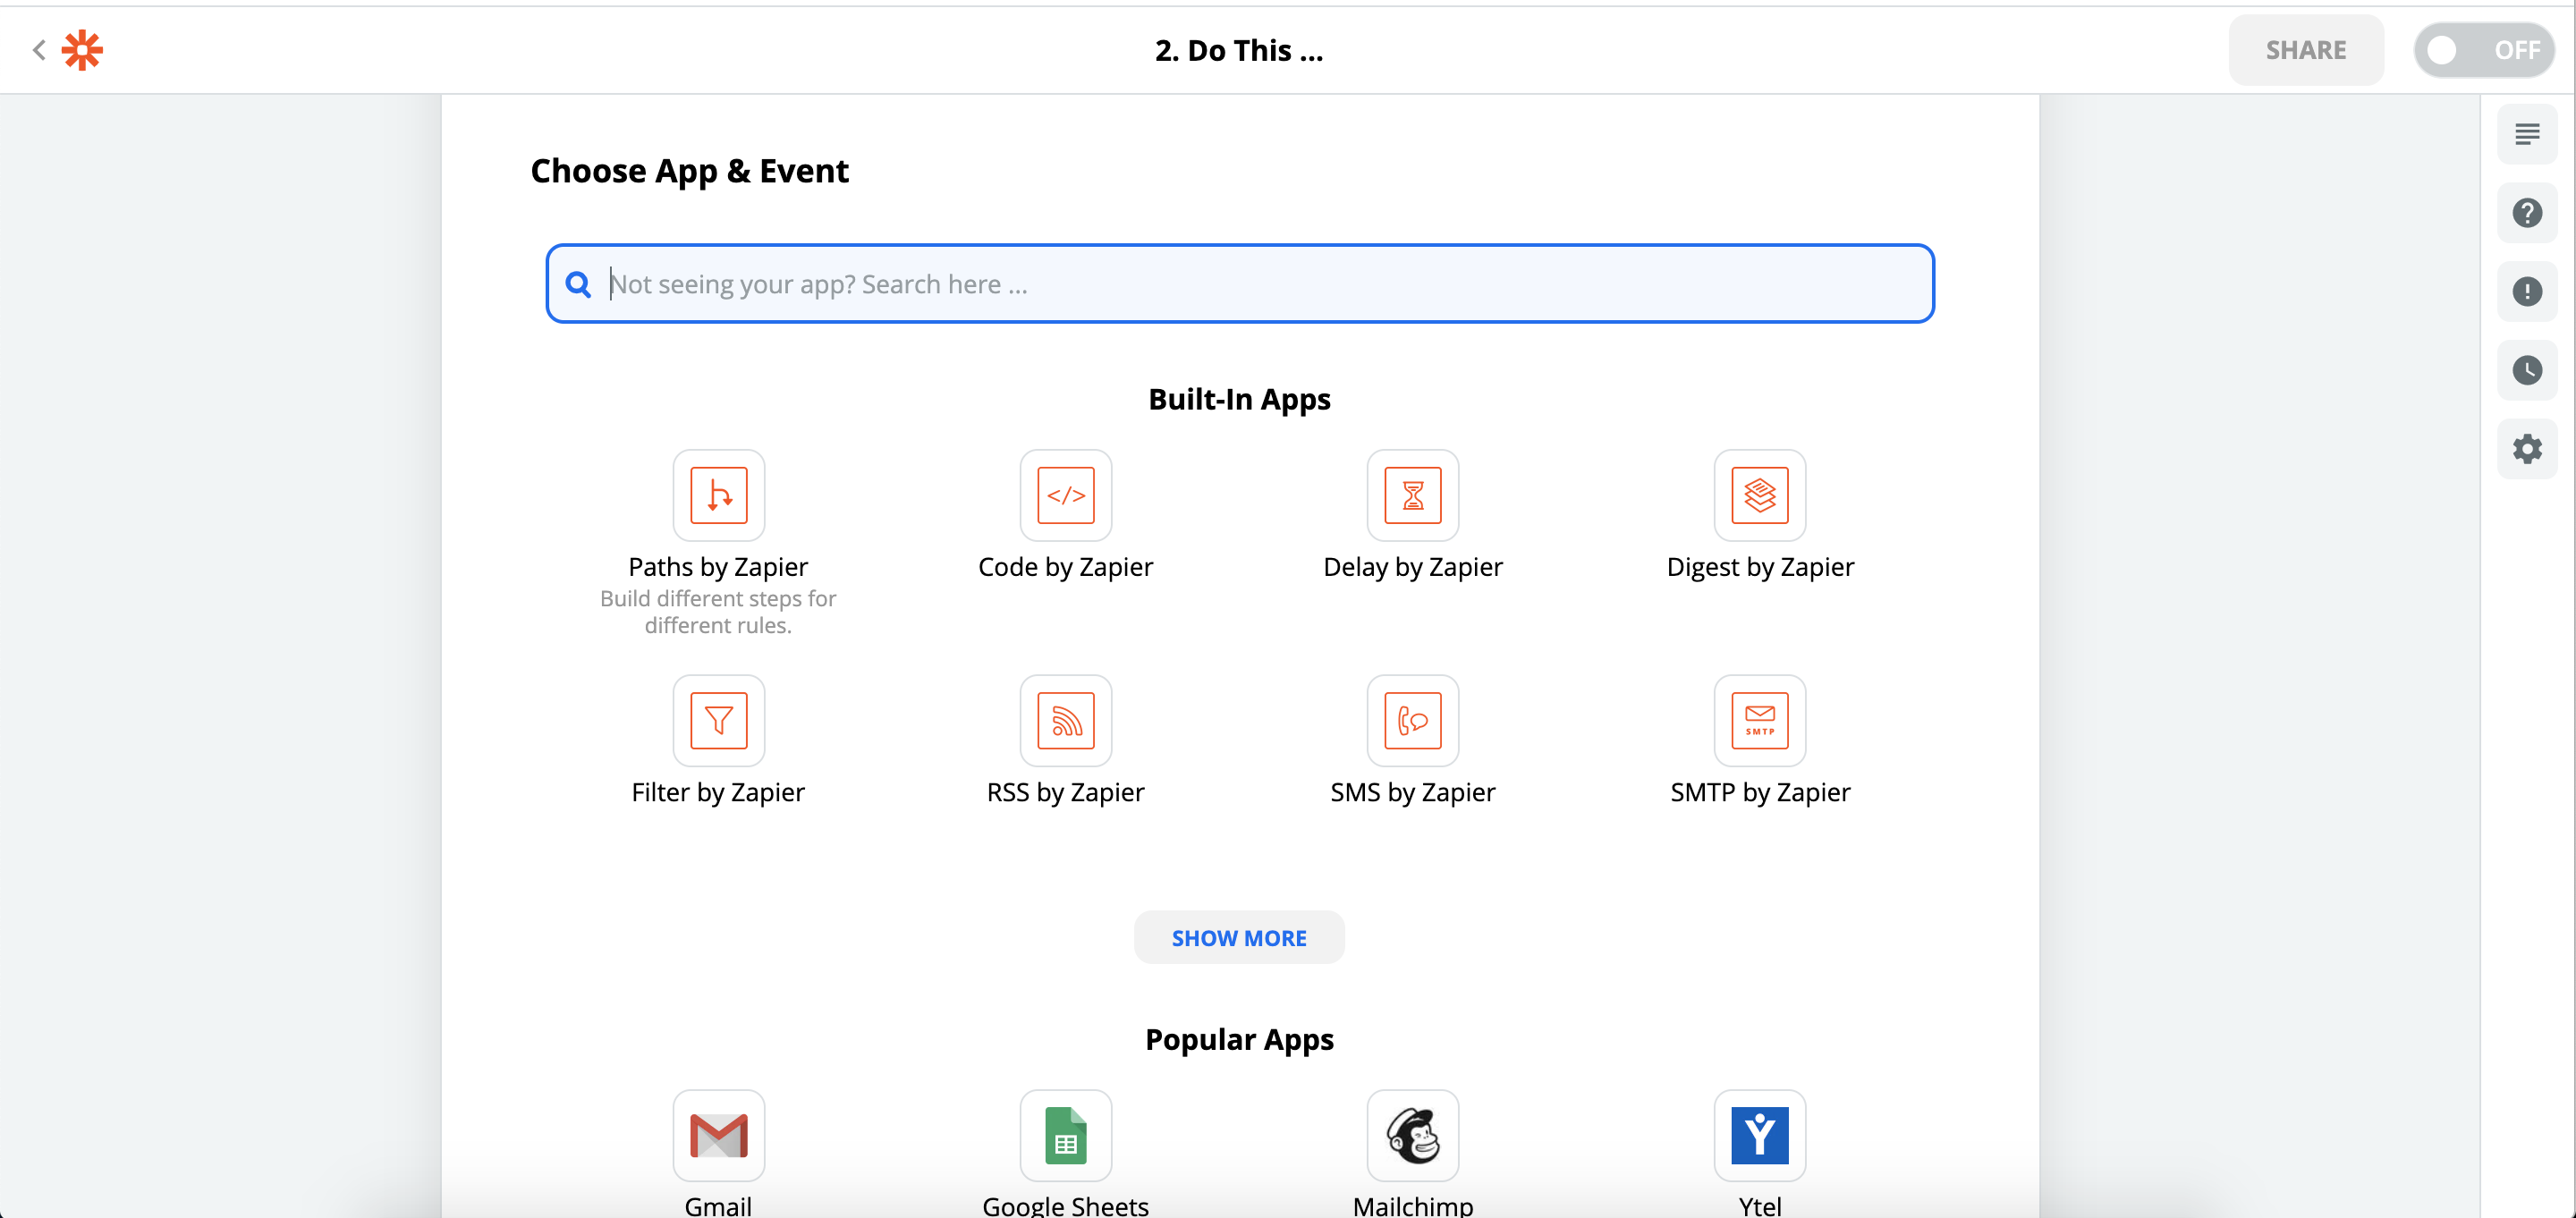
- Select one of the available actions for the selected Action App.
- Connect your account.
- Choose the popup fields you want to forward to your Action App and link them to the right place in your Action App. It's crucial that you select all popup fields for which new answers should be forwarded to the Action App. Fields that aren't merged will not show up in your Action App.
- Test your automation.
- Activate your Zap!
For more information on Zapier, check out: How To Connect Pop Up to Klaviyo using Zapier.